Why the Inspection Sequence Matters More Than the Checklist
What do roofers look for during a roof inspection?
Roofers check shingles, flashing, decking, ventilation, gutters, soffits, fascia, penetrations, drip edge, ice-and-water shield presence, attic conditions, and structural indicators. That’s the list most contractors will give you. But what separates a thorough inspection from a quick glance is the order these items are checked. Each checkpoint feeds information to the next. Granule buildup in the gutters tells the roofer what to expect on the shingle surface. Blocked soffits explain why the attic has frost on the decking. Skip a step or check them out of order, and you’ll miss the connections that reveal the real story of a roof’s health.
Why do experienced roofers start from the ground, not the roof?
Starting from the ground isn’t laziness. It’s strategy. A ground-level walk-around catches sagging fascia, staining on exterior walls, and daylight gaps that tell the roofer exactly where to focus once they’re up top. Since 2012, our crews at RonOvations have refined this 12-point sequence across hundreds of Ontario inspections, and we’ve learned that older homes built before 1990 flag completely different issues than those built in the 2010s. On a recent project in Barrie, we identified hidden fascia rot during a routine roof inspection that a previous contractor had missed entirely because they skipped the ground-level walk-around. If you’re searching for emergency roof repair or roof repair Barrie services, that kind of missed detail is exactly what leads to emergency calls later.
A few terms worth knowing before we walk through the checkpoints: flashing refers to thin metal pieces that seal joints where the roof meets walls, chimneys, or vents. Drip edge is the metal strip along roof edges that directs water into the gutter. Ice-and-water shield is a self-adhering membrane required by the Ontario Building Code (OBC) at eaves and valleys. Flat roof system options use different membranes like Mule-Hide TPO or Carlisle EPDM, but the inspection principles remain the same.
Checkpoints 1-2: Ground-Level Walk-Around and Gutter Assessment
What can a roofer tell just by looking at your gutters?
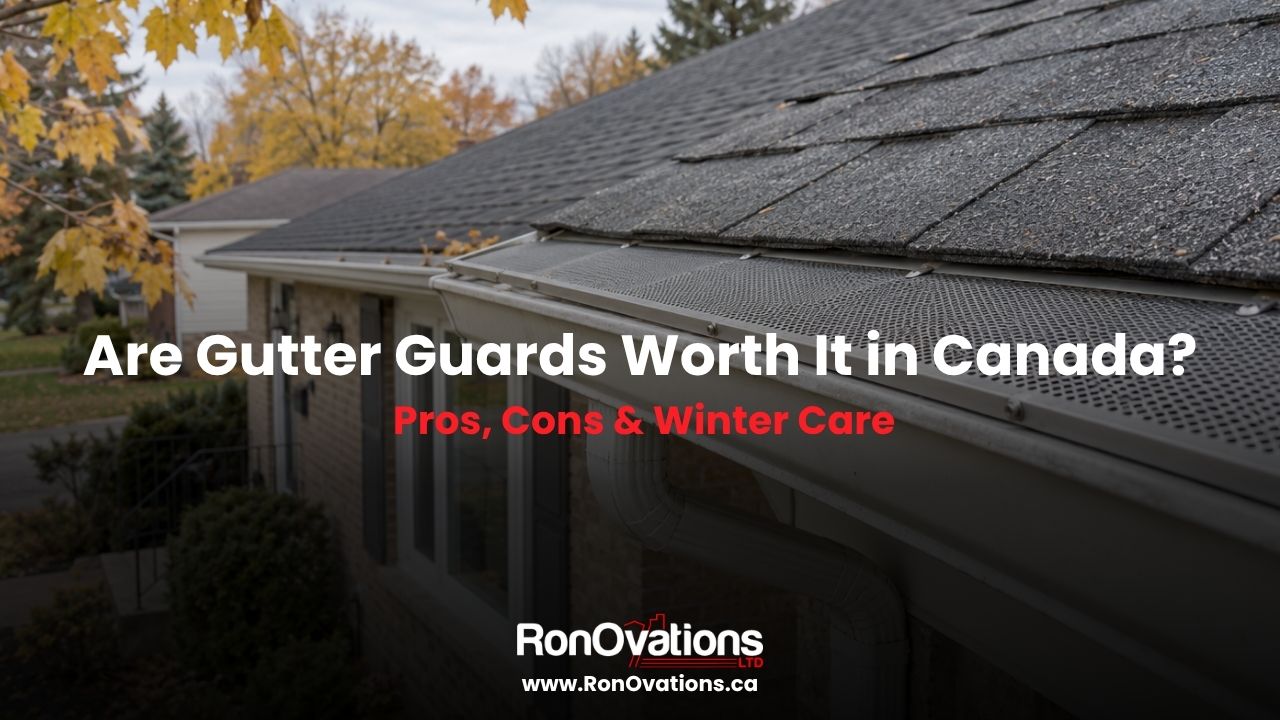
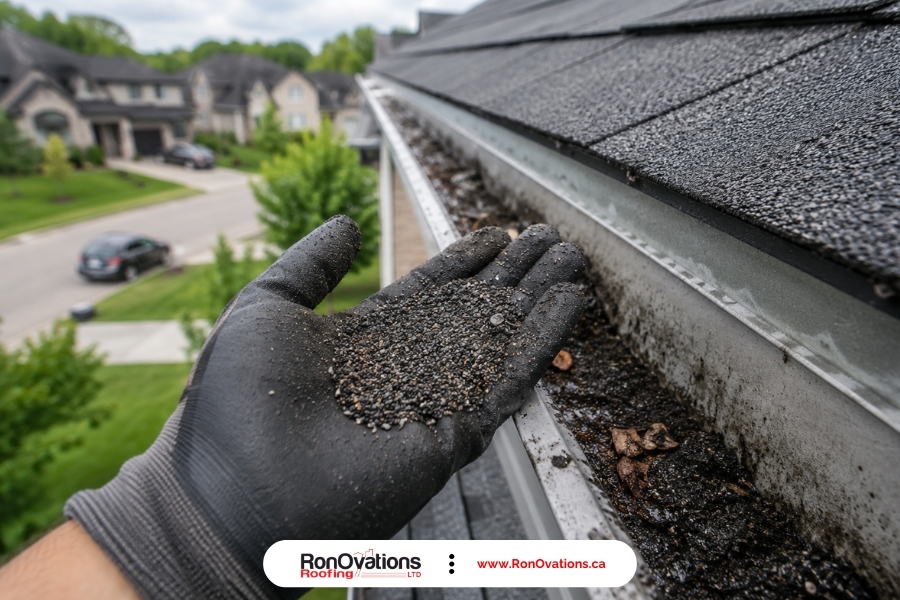
More than you’d think. During the exterior walk-around, we’re scanning for sagging rooflines, daylight gaps at fascia joints, staining on exterior walls, and moss or algae streaks that indicate moisture retention. Then we move to the eavestroughs. Granule accumulation inside the gutter is one of the earliest signs of shingle aging on products like IKO Cambridge or Owens Corning Duration. We’ve pulled handfuls of granules from gutters on roofs that looked perfectly fine from the street.
Clogged or pulling-away eavestroughs cause fascia rot, which compromises the drip edge. That rot doesn’t stay local. Water follows gravity and finds every gap. If the gutters are telling a story of neglect, the roof above them usually confirms it. Our Vaughan roofing service handles these cascading issues regularly.
Checkpoint 3: Shingle Surface Condition
How can you tell if asphalt shingles need replacing?
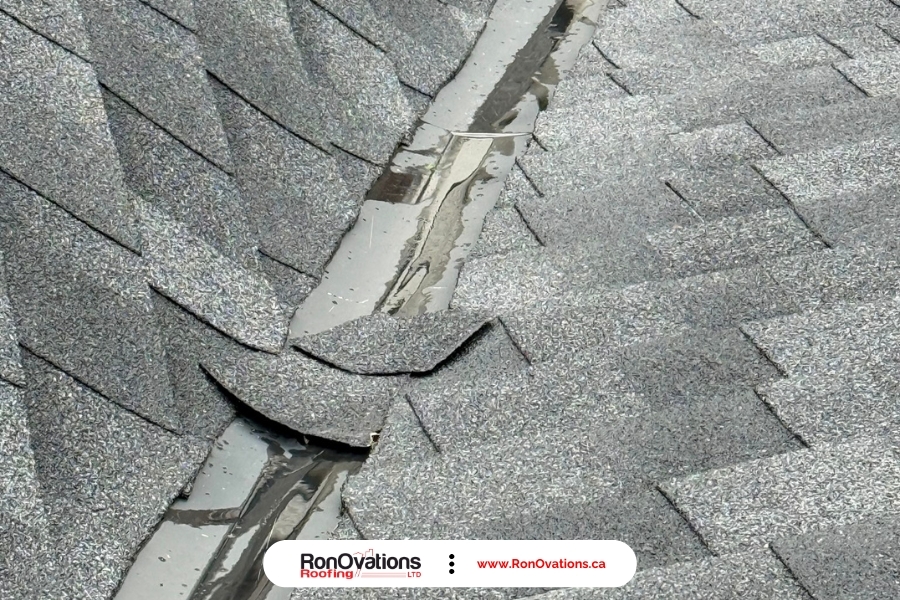
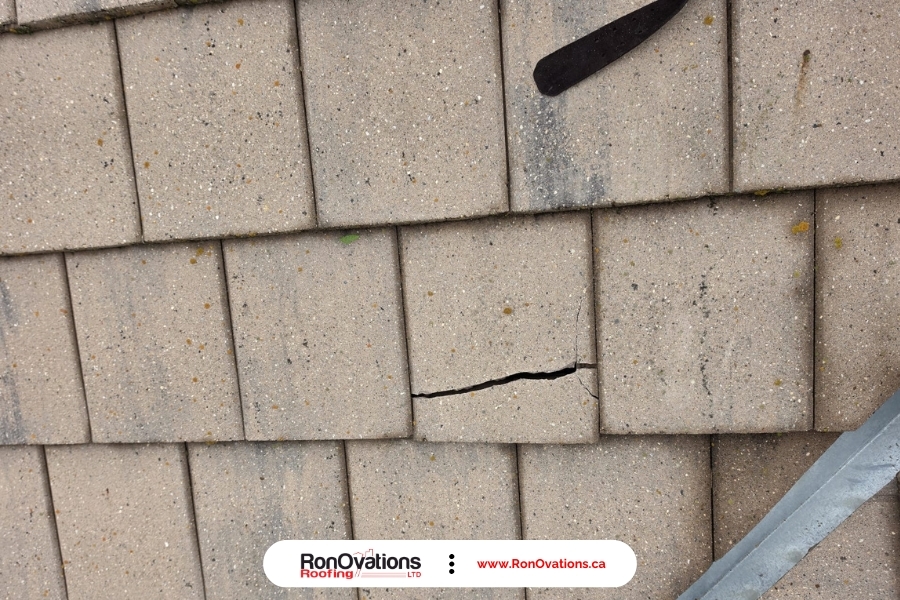
Shingles fail in three main ways: granule loss, curling, and cracking. Granule loss exposes the asphalt mat to UV radiation, accelerating breakdown. Curling lifts shingle edges and lets rain underneath. Cracking results from thermal cycling, and Ontario’s freeze-thaw climate is brutal on this front. Roofing work in Toronto.
Different products show wear differently. GAF Timberline HDZ shingles display granule loss in a distinct pattern compared to BP Mystique or CertainTeed Landmark. A few cracked shingles on a 12-year-old roof might mean a spot repair. But widespread curling on a 20-year-old roof usually means replacement is the smarter investment. The OBC requires minimum shingle wind resistance ratings, and inspectors check whether existing shingles still meet those thresholds. Roofing work in Innisfil.
Can a roof be repaired instead of replaced?
It depends on the scope and location of the damage. Isolated cracking or a few missing shingles on an otherwise sound roof can often be repaired for $300 to $800 in Ontario. However, if more than 25-30% of the surface shows curling, granule loss, or if the decking underneath is compromised, repair becomes a short-term patch on a long-term problem. During a roof inspection, we map the damage zones and give homeowners an honest breakdown of repair vs. replacement costs so they can make an informed decision. Understanding the average cost of roof replacement helps put repair quotes in perspective.
| Inspection Checkpoint | What It Reveals | Common Hidden Failure |
|---|---|---|
| Gutter granule accumulation | Shingle aging rate | Roof looks fine from street but shingles are shedding protective coating |
| Step flashing at chimney | Seal integrity at wall-to-roof joint | Caulk-over instead of proper mortar step; fails within 5 years |
| Soffit vent airflow | Attic ventilation balance | Insulation or paint blocking intake, causing ice dams and premature shingle aging |
| Roof decking (walked on foot) | Structural soundness of plywood/OSB | Spongy spots from delamination invisible from the ground or by drone |
| Attic underside in winter | Moisture and ventilation performance | Frost on underside of decking, indicating ventilation failure, not shingle defect |
| Drip edge lapping | Proper water routing to gutter | Drip edge omitted entirely on pre-2012 Ontario homes |
Checkpoints 4-5: Flashing Integrity and Drip Edge Condition
Why is flashing the most common source of roof leaks?
Flashing around chimneys, vents, skylights, and wall-to-roof transitions is where most leaks originate. Hairline cracks at step flashing are invisible from the ground but let water migrate behind the shingle layer. The drip edge must be present and properly lapped under the ice-and-water shield. On pre-2012 Ontario homes, drip edge was often omitted entirely, which means water runs behind the fascia instead of into the gutter. What to do about storm damage to your roof.
On older Ontario homes, we routinely find counter-flashing that’s been caulked over instead of properly stepped into the mortar joint. That caulk fails within five years. Flashing failures account for a disproportionate share of interior water damage because they’re slow leaks. By the time drywall stains appear, the damage behind the wall has been building for months. This is one checkpoint where a hands-on inspection is irreplaceable.
Checkpoint 6: Soffit, Fascia, and the Perimeter System
What does rotting fascia tell a roofer about the rest of the roof?
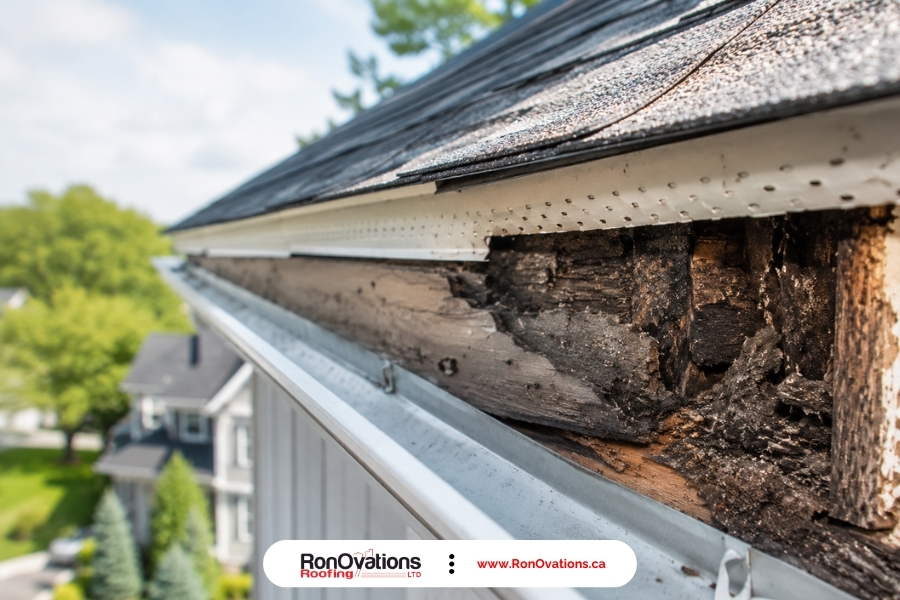
Soffit vents blocked by insulation or paint reduce attic airflow, which accelerates shingle aging from underneath. Fascia rot behind the eavestrough is a red flag for ice dam history. Water backs up under the shingle edge and saturates the wood over repeated freeze-thaw cycles.
Our inspectors press a screwdriver into fascia boards. Soft wood means moisture has been present long enough to cause structural concern. Blocked soffits and damaged fascia aren’t separate problems. They’re symptoms of the same ventilation imbalance, and fixing one without addressing the other is a waste of money. Learn more about soffit and fascia systems.
Checkpoint 7: Attic Ventilation and Insulation Clues
Does a new roof help with insulation?
A new roof alone doesn’t fix insulation problems. But during a re-roof, crews can add baffles at the soffit line to restore airflow that insulation may have blocked. The intake-to-exhaust balance is critical. Both the OBC and manufacturer warranties from GAF, Owens Corning, and IKO require a specific ratio of soffit intake to ridge or box vent exhaust. Imbalanced ventilation causes moisture buildup in winter and heat buildup in summer.
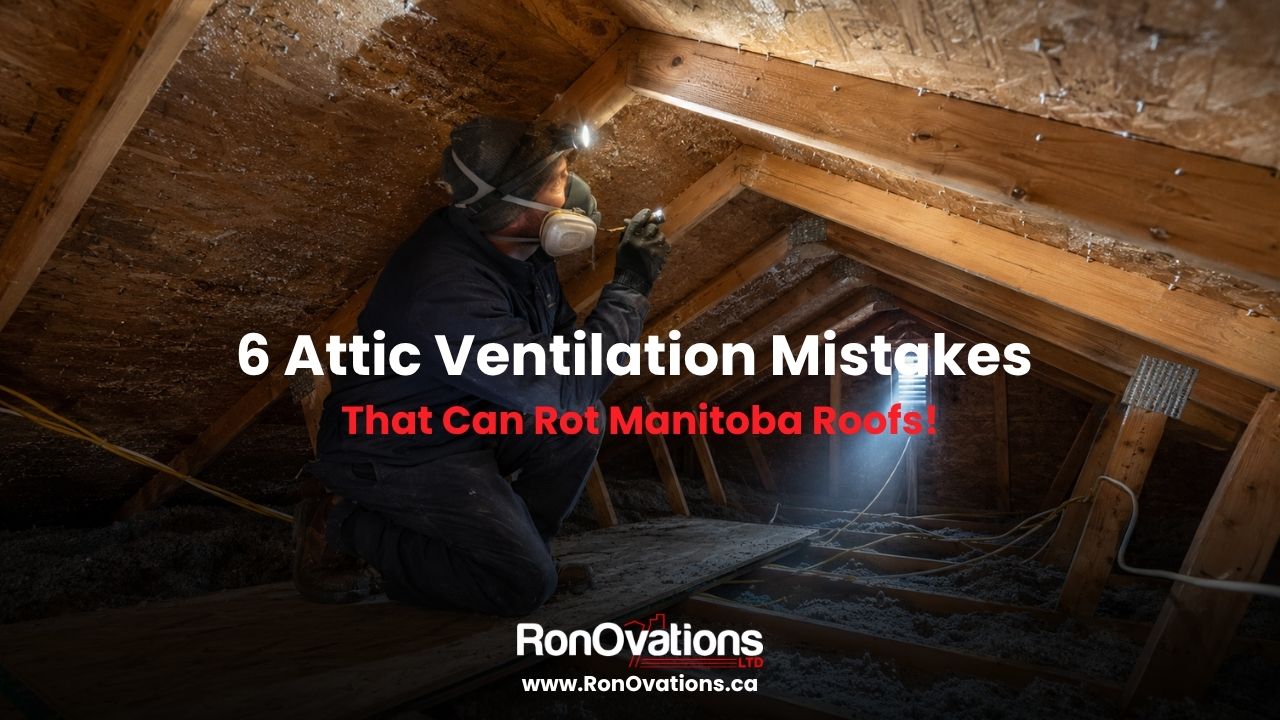
We’ve opened attics on 1970s Ontario bungalows and found frost on the underside of the roof decking in January. That’s a ventilation failure, not a shingle problem. Ice dams are almost always a ventilation and insulation issue, not a shingle defect. If your inspector doesn’t go into the attic, they’re missing roughly a third of the picture.
How does poor attic ventilation damage a roof from the inside?
Trapped moisture condenses on the cold underside of the decking, promoting mould growth and wood rot. Over a few winters, OSB decking can delaminate to the point where it won’t hold a nail. In summer, trapped heat bakes shingles from below, accelerating granule loss and curling. You can have brand-new CertainTeed Landmark shingles on top and still see premature failure if the attic underneath isn’t breathing properly.
Checkpoints 8-9: Roof Decking and Ice-and-Water Shield
How do roofers check the decking without tearing off shingles?
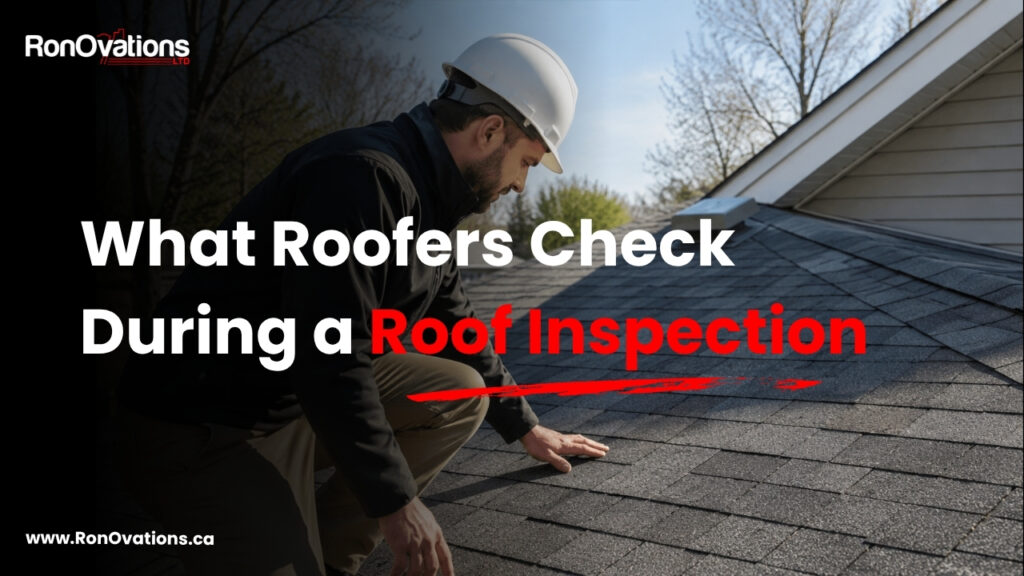
We walk the roof surface feeling for soft spots underfoot. A spongy area means the plywood or OSB underneath has delaminated from moisture. From the attic side, staining and sagging between rafters confirms it. On a maintenance inspection where there’s no tear-off, roofers infer the presence or absence of ice-and-water shield based on the roof’s age, visible edge details, and any history of ice dam leaks.
The OBC requires ice-and-water shield at eaves, valleys, and around penetrations. Decking replacement adds $3 to $5 per square foot to a re-roof. Catching soft spots early through regular inspection can save thousands by addressing the moisture source before the rot spreads to adjacent sheets. Full roof replacement details.
Checkpoint 10: Metal Roofing and Specialty Systems
What is the difference between a drone inspection and a hands-on roof inspection?
Metal roofs like Decra stone-coated steel or standing seam panels require a different inspection focus: fastener back-out, panel seam integrity, and coating wear rather than granule loss. Metal roof maintenance is less frequent than asphalt, but it isn’t zero. Thermal expansion loosens fasteners over time, especially on Ontario roofs that cycle between -25°C and +35°C annually.
Drones capture high-resolution surface images efficiently on steep or complex roofs, but they can’t feel soft decking, test flashing adhesion, or inspect the attic. A drone supplements a hands-on inspection; it doesn’t replace it. We use drones for initial documentation on three-storey or steep-pitch roofs, then follow up on foot for every checkpoint that requires touch or attic access. If someone offers you a drone-only roof inspection, understand that it covers surface visuals but misses the tactile and attic-side checkpoints that catch the most consequential failures.
How much is a metal roof compared to asphalt?
Homeowners often ask how much is a metal roof during a roof inspection, especially when their asphalt shingles are nearing end of life. In Ontario in 2026, standing seam metal runs $14 to $22 per square foot installed, while stone-coated steel like Decra falls in the $12 to $18 range. By comparison, architectural asphalt shingles like IKO Dynasty or GAF Timberline HDZ typically cost $5.50 to $8.50 per square foot installed. Metal’s higher upfront cost is offset by a 40-to-60-year lifespan versus 20 to 30 years for asphalt, making the lifetime cost per year comparable. A roof inspection is the right time to weigh these options because the inspector can assess whether your decking and structure can support the heavier metal panels without additional reinforcement. Metal roofing options.
What a Roof Inspection Report Should Include
What should you expect in a professional roof inspection report?
A proper report includes dated photos of every checkpoint, a condition rating for each component, estimated remaining lifespan, and prioritized recommendations. It should distinguish between urgent repairs (active leaks, structural soft spots) and maintenance items (minor flashing sealant touch-ups, gutter cleaning). We provide a written report within 48 hours of every inspection, including annotated photos showing exactly where issues were found.
The report should also note whether the roof is a candidate for repair or full replacement. A 1-storey home with a simple hip roof is faster and less expensive to inspect and repair than a 2-storey home with multiple dormers, valleys, and skylights. On a typical 1-storey bungalow in Ontario, a roof inspection runs closer to $200 to $300, while a complex 2-storey with multiple penetrations may reach $350 to $450. These details help homeowners budget accurately for the average cost of roof replacement if the inspection reveals end-of-life conditions.
Closing Summary
A professional roof inspection follows a deliberate sequence from ground level through the attic, with each checkpoint informing the next. The 10 checkpoints covered here, from gutter granule checks through attic ventilation assessment, represent the minimum standard for a thorough evaluation. Skipping any single step risks missing the root cause of a problem that will only grow more expensive over time. Whether your roof wears IKO Cambridge shingles or Decra stone-coated steel, the inspection logic remains the same: follow the water, check the airflow, and let each finding guide the next.